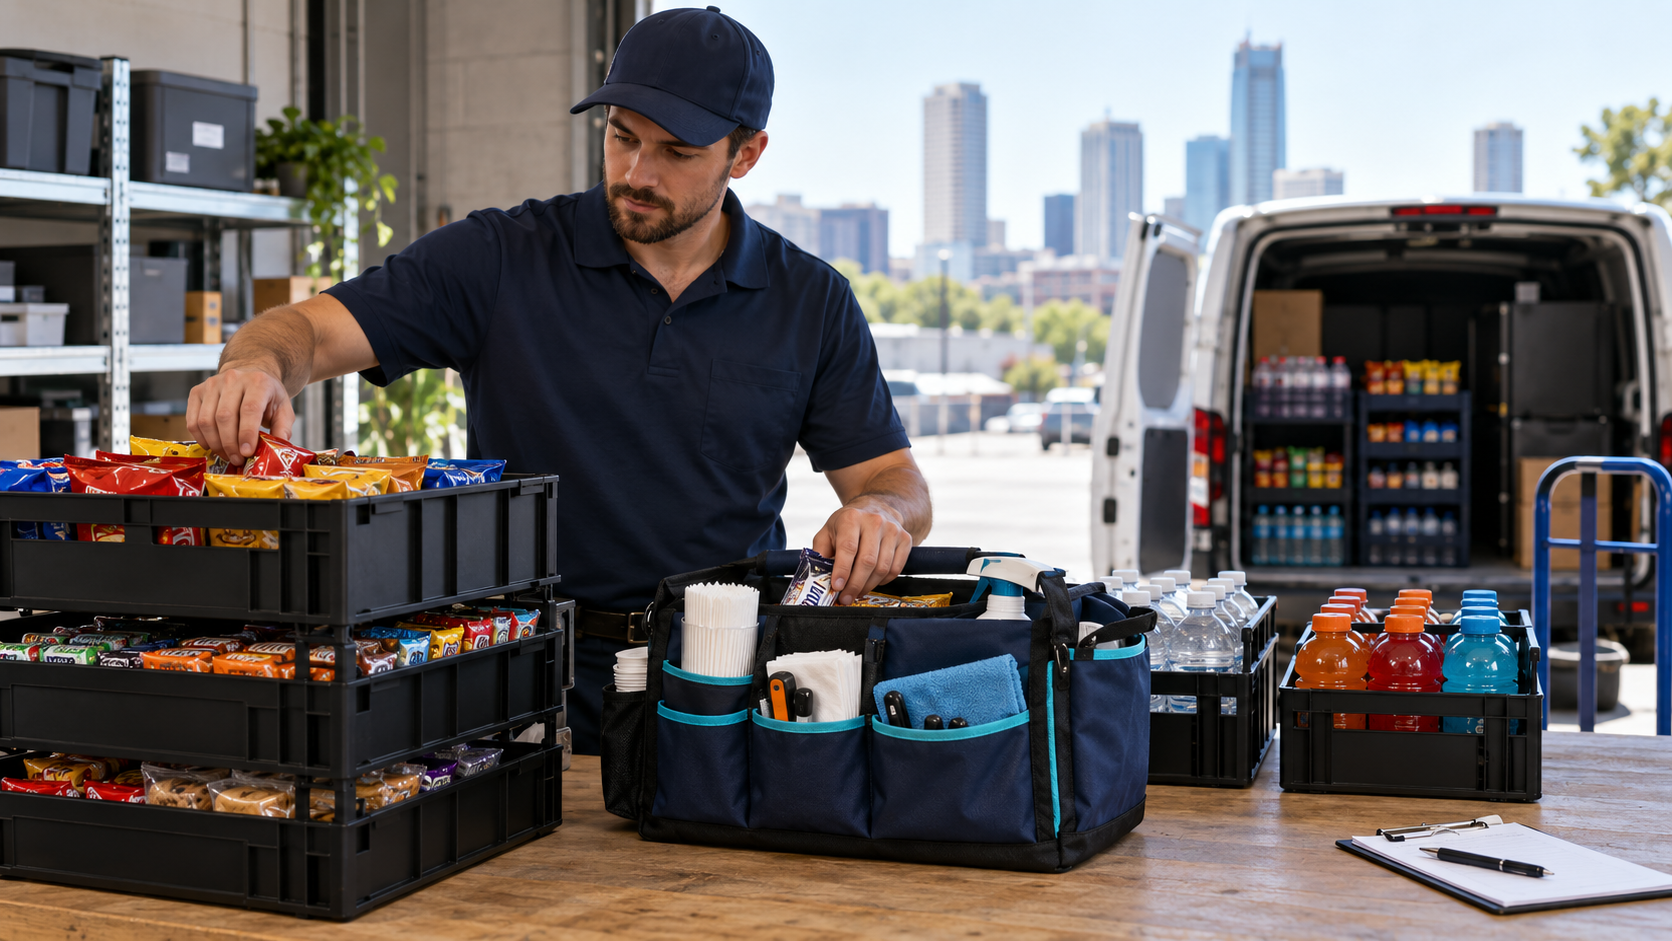
You pull into the location, unload the snacks, reach for the machine key, and realize it is still on the kitchen counter. The products made the trip. The one item that lets you sell them did not.
A good vending restock kit prevents that kind of wasted visit. It also helps you handle the routine details that make a machine look cared for: clean surfaces, correct labels, useful records, and a reliable way to report a problem.
Pack your vending restock kit around the route you are actually running: confirmed access, a product pick list, approved routine-service supplies, secure records, and a plan for bringing returns home. More equipment is not automatically better. The goal is a repeatable setup you can carry, find, use, and reset.
This guide covers a practical kit for a small snack-and-drink route. Adapt it to the machines, products, vehicle, and site requirements you actually have. Refrigerated foods and specialized equipment need their own handling and service procedures.
1. Start with the stop list before packing the kit

Your route plan tells you what belongs in the vehicle. Without it, packing becomes a guessing exercise: a few cases of drinks, whatever snacks look low in storage, and a bag of tools that has not been opened in weeks.
Review the locations you intend to visit, their approved service windows, and any messages received since the last stop. Confirm unusual access arrangements before loading the vehicle.
A location may be open to employees while its receiving door is locked to vendors. A familiar contact may be away. A scheduled event may make the usual parking space unavailable. Record those details where you will see them before arrival.
Use recent inventory or sales information to create a pick list for each machine. If you do not have remote inventory, use the last service record and adjust the estimate as your route history improves.
The list should name the product, package size, and quantity. “Bring chips” leaves too much room for the wrong bag size or flavor. “Bring the approved small bag for selection A3” is easier to act on when several machines use different setups.
Check special work separately. A price change may require updated labels and a documented programming step. A reported vending problem may require an approved part, the correct manual, or a technician appointment.
Do not hide a repair job inside a normal refill estimate. If you need extra time or specialist help, plan it before the route begins.
For deciding how often each location belongs on the route, review how often to restock a vending machine. A well-packed kit supports the schedule; it cannot fix a schedule that ignores actual demand.
Put the day’s priorities in a short note: the stop that must happen first, the product that must be rotated, the customer question that needs an answer, and the task that cannot be completed without authorization.
Then check the essentials physically. Touch the key pouch, confirm the phone is charged, and locate the access instructions. Reading “keys” on a checklist is less useful if you never verify that the correct keys are present.
A consistent pre-route check takes less attention than rebuilding the plan from memory every morning. It also makes it easier for another authorized person to cover a route without learning your personal system by trial and error.
2. Pack products by location and protect their condition

Product totes should make the stop faster without making inventory harder to track. A useful starting point is one clearly identified group for each location, plus a small, controlled reserve for reasonable adjustments.
Use containers suited to the load and the products. Protect lightweight snack packages from heavier drink cases. Keep packaging intact and prevent loose items from rolling around the vehicle.
Sort the products before departure. Check dates, damaged packages, and whether each item matches the machine’s approved selection. Finding a problem at the workbench is easier than sorting a mixed crate beside a busy breakroom.
Rotate stock according to product requirements and your inventory policy. Do not send the oldest item automatically if it cannot reasonably sell within the applicable date and condition limits.
Our guide to reducing expired vending inventory explains why ordering, loading depth, and service intervals need to work together.
Keep sellable stock separate from returns, damaged packages, and items waiting for review. A return container should be unmistakable so questionable inventory does not accidentally go back into the machine or storage shelf.
Plan for the return trip before you leave. Bring enough suitable empty space to hold pulled products and packaging without mixing them into the remaining route stock.
If you carry products requiring temperature control, use a transport and monitoring process that meets the product instructions and applicable requirements. A cooler bag alone does not prove that the products stayed within the required conditions.
Record the checks your operation requires and respond appropriately when conditions are uncertain. Do not improvise a safe holding time based on how cool a package feels.
Keep cleaning chemicals, dirty tools, and waste away from food products. Use separate, secure containers so a spill or loose tool cannot damage or contaminate the inventory.
For a fictional two-stop route, you might prepare one tote for an office and two for a larger warehouse. If the warehouse drinks are buried behind every snack tote, the packing order has worked against your service order.
Place each stop’s products where they can be reached safely when needed. The reserve should remain identifiable, with any additions to a machine recorded. Otherwise the convenience of “a few extra items” creates an unexplained inventory difference later.
At the end of the stop, update what was actually loaded. The pick list is a plan; the service record should reflect what happened.
3. Carry supplies for routine work you are prepared to perform

A service kit should match your equipment and training. It should not become a reason to attempt electrical, refrigeration, or other specialized work that you are not qualified or authorized to perform.
Start with simple items that support inspection and housekeeping: a working flashlight, appropriate clean cloths, approved cleaning supplies, a waste bag, and the tools needed for the routine tasks described in your machine’s instructions.
Use the correct equipment manual to decide what belongs in the kit. For example, Seaga’s operation-manual library provides model-specific resources. Instructions for one model should not be treated as instructions for every machine on the route.
Keep the manual or a reliable offline copy accessible. A bookmark is convenient until the service area has no usable signal. Label the document with the actual model so you do not open the wrong instructions under pressure.
Choose cleaning products and methods that are approved for the equipment and surfaces. Follow the product label and manufacturer instructions, including any required precautions or shutdown procedures.
Do not spray liquid into card readers, bill validators, controls, or electrical components. Carrying a cleaning bottle does not make every surface suitable for the same treatment.
Store supplies in a container that closes securely and makes leaks visible. Replace damaged bottles or containers before the route. Keep original labels and required safety information available.
Small tools are useful only when they are the correct type and in good condition. A stripped screwdriver or an improvised substitute can turn a simple task into a damaged fastener or an unfinished stop.
Carry approved spare consumables or parts only when you have a reason to use them and understand the procedure. A box of unknown components from an old machine adds weight without adding dependable capability.
Keep a separate list of jobs that require outside support. Record the symptom, device information, and any permitted checks already completed. That is often more valuable than carrying a large collection of tools you do not use.
If you encounter a problem beyond routine service, secure the situation according to the equipment and site procedures and arrange the right help. See our repair-or-replacement guide for evaluating recurring equipment trouble.
Inspect the kit itself occasionally. A flashlight with dead batteries, dried-out supplies, or a missing tool should be discovered before you are standing at the machine.
4. Bring the information and access items that finish the job

Keys, records, and communication tools deserve their own packing category. They are easy to overlook because they do not look like inventory, but they determine whether the stop can be completed and documented.
Use a controlled key system. Identify keys in a way that works for your business without publicly exposing unnecessary location or security details. Keep a record of who has authorized access.
Check that you have the right access credentials for the scheduled sites. Do not assume a badge, escort arrangement, or door code from an earlier visit is still valid.
Bring a charged phone and a compatible charging solution. Save necessary contacts and service notes so they remain available if the connection is poor. Protect the device with appropriate access controls.
A paper backup can be useful for basic service quantities and notes. Keep it simple enough to use, then transfer the information into your main records promptly. Two competing records that never get reconciled are not a backup system.
Carry the current machine layout or selection list when it helps prevent loading errors. The record should connect the selection position, product, package size, and price.
Our beginner’s guide to vending planograms explains how that layout can support consistent service across visits.
For any planned label changes, bring the approved replacements and verify them against the actual configuration. A correct product in the wrong labeled position still creates a confusing customer experience.
Keep the support contact information current and legible. If a sticker needs replacement, carry the appropriate version. Do not leave a machine directing customers to an outdated number or an unattended inbox.
If you handle cash, use your established secure collection and reconciliation process. Keep collection records separate from personal spending and do not discuss predictable cash-handling details publicly.
Record test purchases, refunds, and cash movements accurately. Do not let a handful of change or a test snack disappear into a vague “route supplies” category.
Customer complaints may require a transaction reference or the time of purchase, but your route notebook should not collect full payment-card details. Use the payment provider’s approved support process for sensitive information.
For a new helper, prepare a short handover note covering what to record and whom to contact when something is unclear. A neatly packed kit becomes much more useful when the person carrying it knows the decision process behind each item.
5. Load for the route and run a final departure check

A packed workbench is only halfway to a prepared route. The vehicle needs an arrangement that protects the products and lets you access each stop’s supplies safely.
Use appropriate containers and load-securing methods for the vehicle and cargo. Follow vehicle limits and the requirements of your operation. Keep the driver’s area and visibility clear.
Place heavy and fragile items thoughtfully, avoiding stacks that can collapse or crush snack packages. Secure a cart or hand truck so it cannot move around during travel.
Choose handling equipment suited to the load and the site. Consider the path from the approved parking area to the machine, including doors, thresholds, elevators, and the room available to work.
Do not overload a tote simply to reduce the number of trips. Break the load into manageable quantities and use appropriate assistance when needed. A route is not more efficient if the packing plan creates an injury or damaged product.
For unfamiliar sites, revisit the practical access questions in our vending installation checklist. Delivery access and routine service access are related, but they may use different entrances and procedures.
Keep the supplies you need at every stop within easy reach: the key pouch, service notes, routine cleaning kit, and any required identification. Avoid unloading unrelated products just to find a pen.
Pack the route in its planned order, then consider what happens if a stop changes. A flexible arrangement lets you reach a different tote without turning the entire vehicle into a sorting area.
Before leaving, use this compact check:
- Access: correct keys, approved entry arrangements, and working contact information.
- Products: counted pick lists, suitable condition, and required transport controls.
- Service: routine supplies, correct instructions, and planned task materials.
- Records: current selection information, service log, and charged device.
- Returns: a separate container and a clear handling process.
- Vehicle: secured load, accessible handling equipment, and a workable stop order.
Make the checklist fit on one screen or one page. The version you actually use is better than an elaborate document you ignore because it takes too long to navigate.
If you repeatedly forget an item, change the packing arrangement. Give it a permanent home or pair its check with a task you already complete. Relying harder on memory rarely fixes a recurring omission.
6. Reset the kit when the route ends

The next route starts when the current one ends. If you park the vehicle and leave every tote untouched, tomorrow begins with yesterday’s uncertainty.
Unload products according to their storage requirements. Separate usable returns from damaged, expired, or questionable items and follow your inventory procedures. Do not return everything to the shelf just because it came back in the same vehicle.
Reconcile what left storage, what entered each machine, and what returned. Investigate differences while you can still remember the stop, rather than reconstructing them days later.
Restock the service kit immediately. Replace used supplies, charge devices, return keys to their controlled storage, and note any tool that needs repair or replacement.
Clean containers and handling equipment as appropriate. Empty waste and keep used cleaning materials separate from clean supplies and food inventory.
Review the notes you brought home. A request for a different snack, a recurring payment problem, or a changed service window needs a next action. A notebook full of observations does not help unless the important ones reach the next route plan.
Track preventable extra trips. If you returned for a missing key, label, or product, record the cause. Use that information to improve the kit rather than simply blaming a busy day.
For organizing the route records behind the checklist, explore Vending 102: Staying Organized & Running Your Business Like a Pro.
Do I need a large tool bag? Start with the tools required for the approved routine work you actually perform. Add items when a defined task justifies them.
Should I pack every product I own? Use a location pick list and a deliberate reserve. Excess stock makes counting and handling harder.
What is the most important item? The answer depends on the stop, but access items deserve a physical check. A complete product load is useless if you cannot open or reach the machine.
When should the kit be checked? Reset it after each route and verify the essentials before the next departure.
Your restock kit should make ordinary service dependable. When products, supplies, access, and records each have a clear place, you spend less time searching and more time keeping the machine ready for its next customer.


