By Jason Parks | Big City Vending
I found the POS advertising tools while setting up my fourth HAHA machine. If you want to display your own promotional images on the payment-terminal screen, the process has two parts: upload an ad creative, then include it in an ad placement plan.
Here is a walkthrough of the mobile workflow in the HAHA AI Vending app, along with the checks to make before expecting an ad to appear on your machine.
The annotated app details below are enlarged for clarity, with private information hidden. Tap an image for a closer look.
1 Check your POS software and prepare the image
Start by contacting HAHA support. For my setup, the POS needs a software update first. Tell support you want to use POS advertising and have them confirm the required update and availability on your particular unit before you proceed.
Save the image on your phone. The POS upload screen accepts JPG or PNG files up to 10 MB, recommends 720 by 1280 pixels, and allows one file per upload. That recommended size is a vertical 9:16 layout.
Keep the design readable at a glance. Use a clear image, a short message, and enough contrast for any price or offer to stand out.
2 Open Ad Creative and choose POS
Open the HAHA AI Vending app and tap Me at the bottom right. Choose Advertising Campaign, then Ad Creative. Tap Add Ad Creative at the bottom of the creative list.
On Select Placement, choose POS. The app also offers Ad Screen, but this walkthrough follows the POS option for the payment-terminal screen. Make sure you select the screen you intend to use.


3 Select your image and continue the upload
On Upload Ad Creative, tap Select files to upload. On the iPhone, the picker offers Photo Library, Take Photo, and Choose File. Use Photo Library for an image saved in Photos or Choose File for one saved in Files.
Select the image, tap Next, and complete the remaining upload prompts in the app. Repeat the upload process for additional images, since the POS uploader takes one file at a time.
The POS uploader specifies image files. Prepare a JPG or PNG for this workflow even though the broader advertising menu also mentions video.

4 Check the creative status
Return to Ad Creative and find the uploaded image. The list has All, Pending, Approved, and Rejected tabs. Check that your creative shows Approved before moving ahead with placement.
If it remains Pending or appears under Rejected, check any information provided in the app or contact HAHA support. Avoid assuming that selecting a file means it is ready to display.

5 Create an ad placement plan
Return to Advertising Campaign and open Ad Placement Plan. Tap Create Ad Placement Plan, then choose POS again.
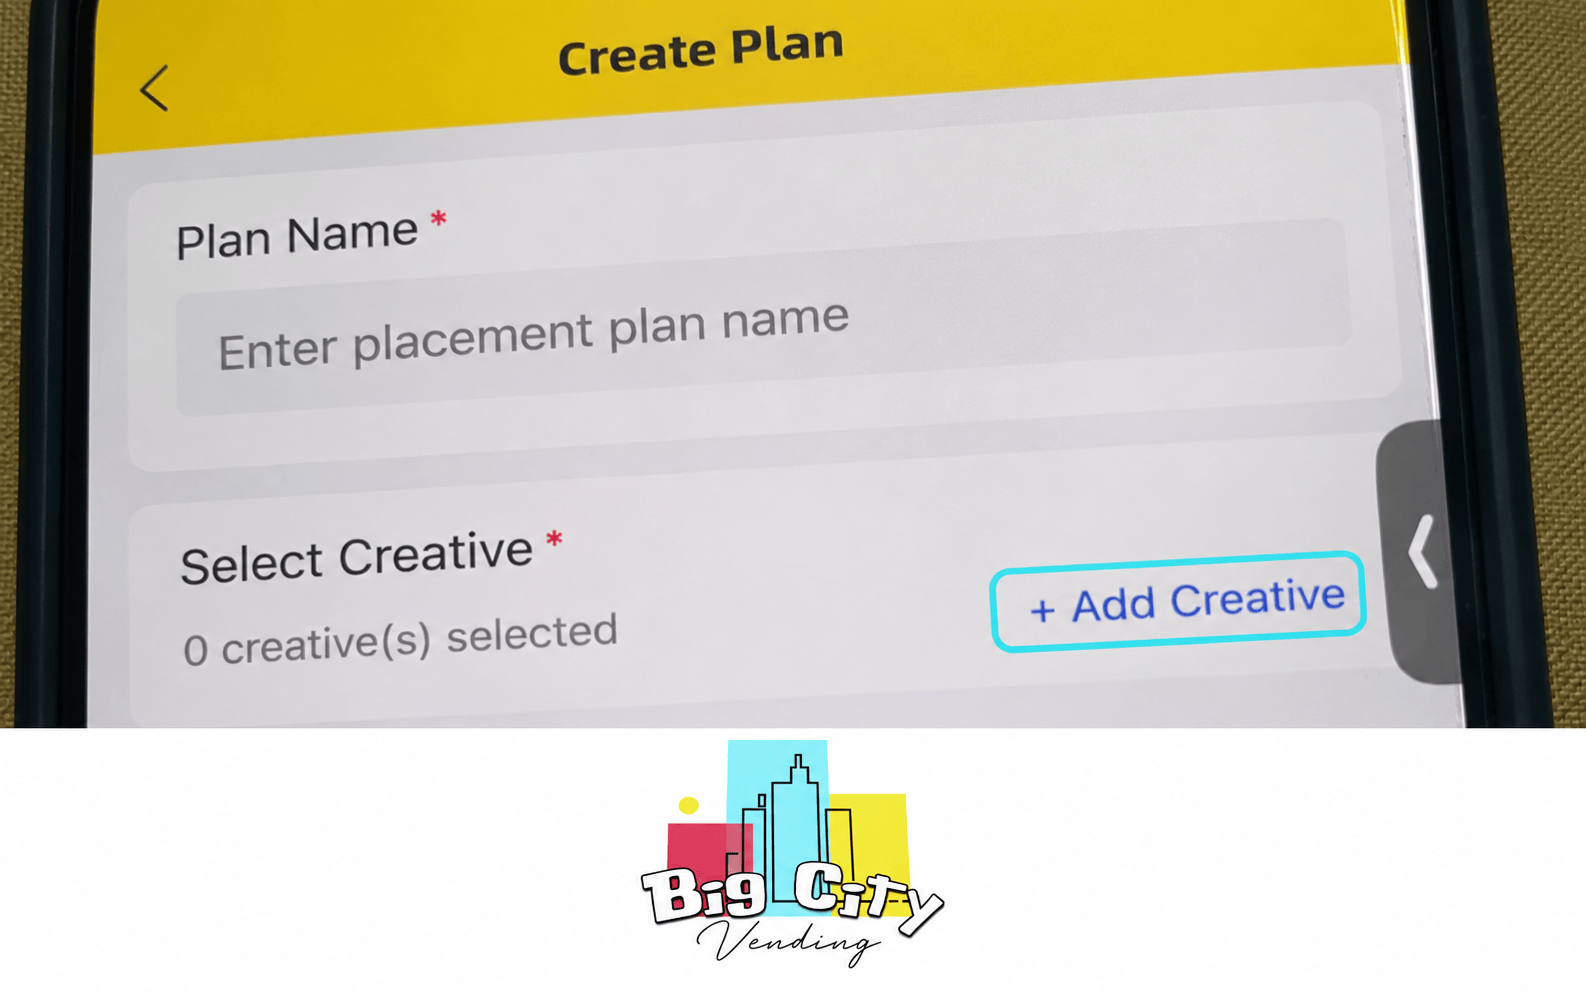
In Create Plan, enter a descriptive Plan Name. Under Select Creative, tap + Add Creative. On the selection screen, use the checkboxes beside the images you want to include. Review the selected count, then tap Confirm.
Check that the intended creatives are selected before using Next to continue. A useful plan name identifies the promotion or location so you can find it again later.
6 Complete the device and schedule settings
Follow the remaining prompts to complete the plan, reviewing the intended device or devices and the scheduling period before finalizing it. Check the start and end dates carefully. A date written in the Plan Name is only a label; review the actual schedule separately.
Afterward, open Plan Details and review Placement, Preview, the creatives, their playback durations, the device list, and Scheduling Period. Make sure those details match the campaign you intend to run.
7 Verify the plan and the POS screen
The placement-plan list includes All, Pending, Active, and Ended tabs. When the plan is due to run, look for Active, then open its details and check for Downloaded beside the correct device.
Finish by checking the physical POS screen. Make sure the intended images appear and that the text is readable. Approved, Active, and Downloaded describe different stages of the process; checking the screen confirms what customers actually see.

8 Keep the campaign current
To change an existing plan, open it from Ad Placement Plan and tap Edit. Review the dates, artwork, and device assignment again after making changes.
If the image advertises a sale, check the actual product price separately and make sure it matches the ad. Update or end the promotion when the offer expires or the product is no longer available.
The key is to check the whole process: approved artwork, the right placement plan, the intended device and dates, and the finished ad on the POS screen. If your app or POS presents different options, confirm the next step with HAHA support.
Watch the HAHA POS walkthrough
This short, male-narrated walkthrough covers POS image requirements, the upload entry screens, and starting an ad placement plan. Private details are hidden. Upload completion, device selection, scheduling, and activation are not shown; use the written steps above to finish and verify your plan.


